Solar Powered Outdoor Dutch (Bato) Bucket System[]
Here is a design that I've come up with that I built on the roof of my building. It uses a 1.5W solar panel and a 6v pump to lift water 12"-16" to drip lines that feed each plants with taps. A reservoir is created in the bottom of the containers to sustain the plants even if the pump is not running. Cost target is under $90 for the solar pump system, buckets (free from restaurants & coffee shops), some drain fittings, drip tubing, drip taps, and media.
The goal was to make the system self sustaining for at least 7 days at a time. In my climate, where humidity is high, this may be possible because the evaporative loss will be low. Don't think that you'd be able to do that in the desert!
Supplies Needed[]
- Nutrient Reservoir
- 3/8" drip tube, about 12 feet
- 1/2 black rubber tube, about 4 feet
- 3 drain fittings
- 16 drip line taps
- 2 x 3/8" elbows
- 1 x 3/8" tee
- Zip ties, cable ties, Ty Wraps, whatever you call them
- Solar pump and panel
- 3/8" drill bit
- 3/4" drill bit
- Rough hydroponic medium suitable for a recirculating system (Coco chunks work great, so will wood chips)
- Nutrient mix
Ssss
Steps[]
Ddddddddd
TODO[]
- Integrate automatic top-off system using external water reservoir
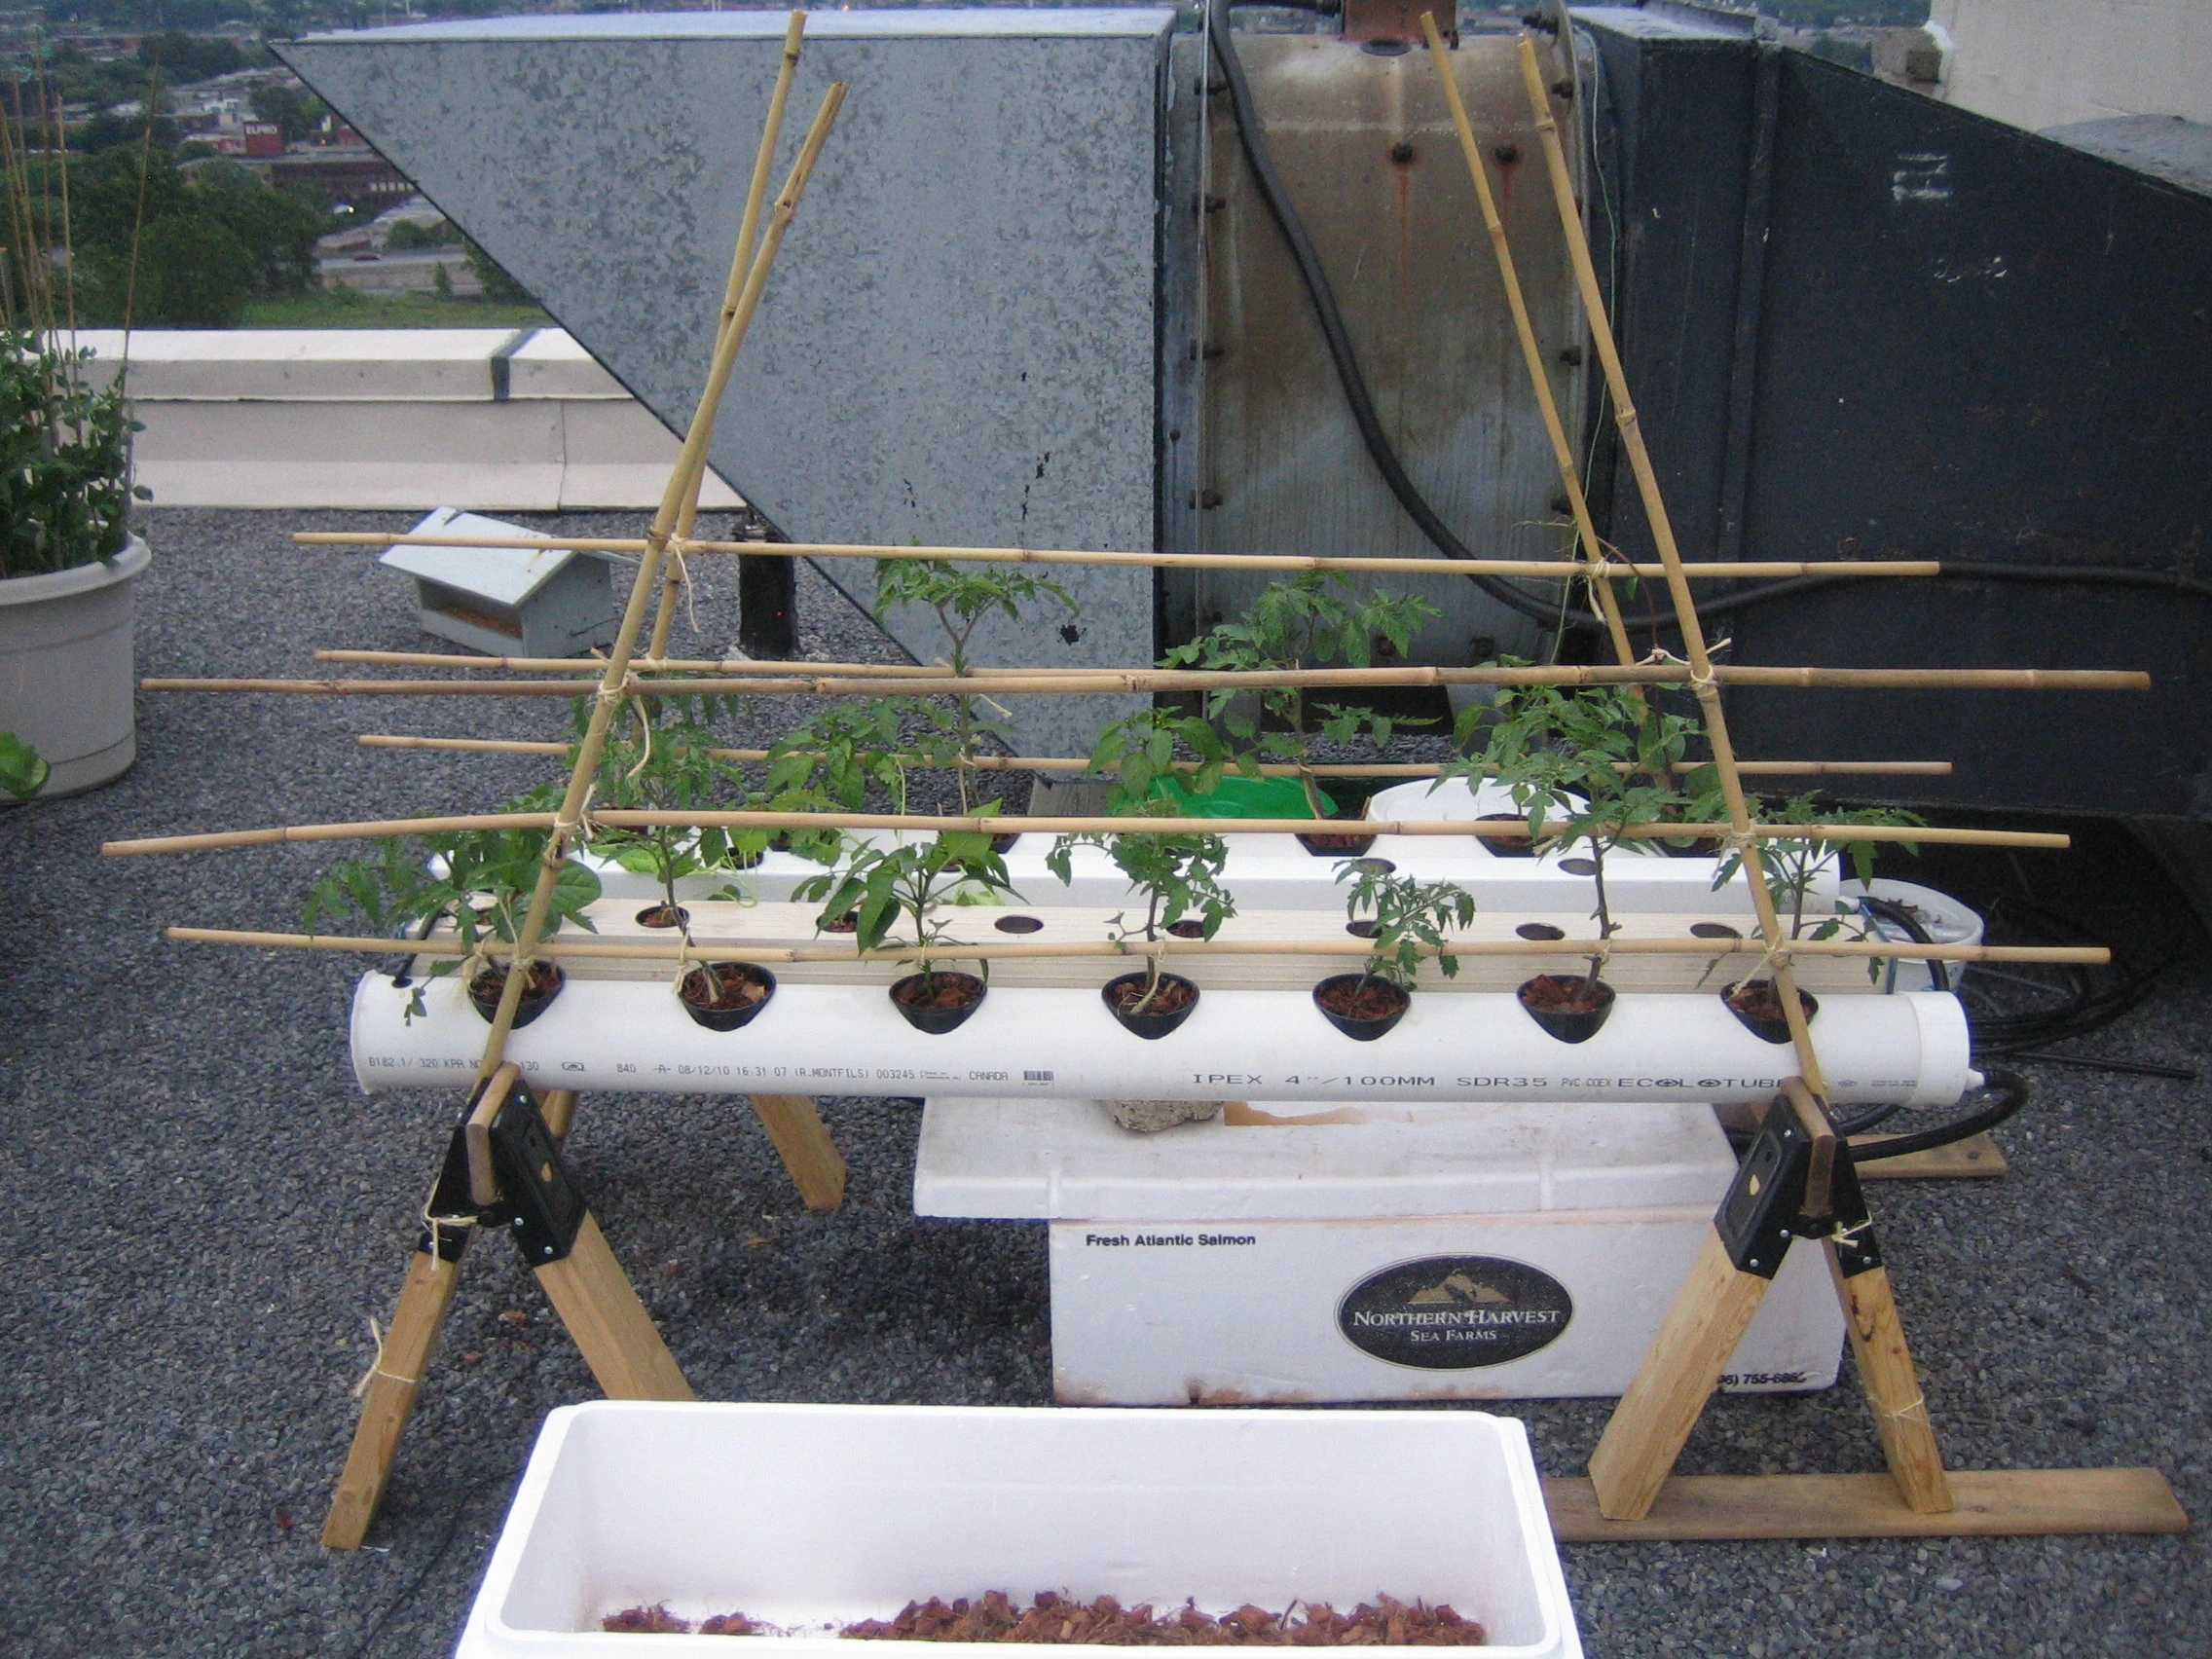
Solar Powered DFT System[]
This system is almost like the non-solar version, except that a course medium is used in the channels as a buffer for overnight when the solar pump is not running.
Supplies Needed[]
- NFT or DFT channels, either custom manufactured or 4" PVC pipe, or gutter downspout

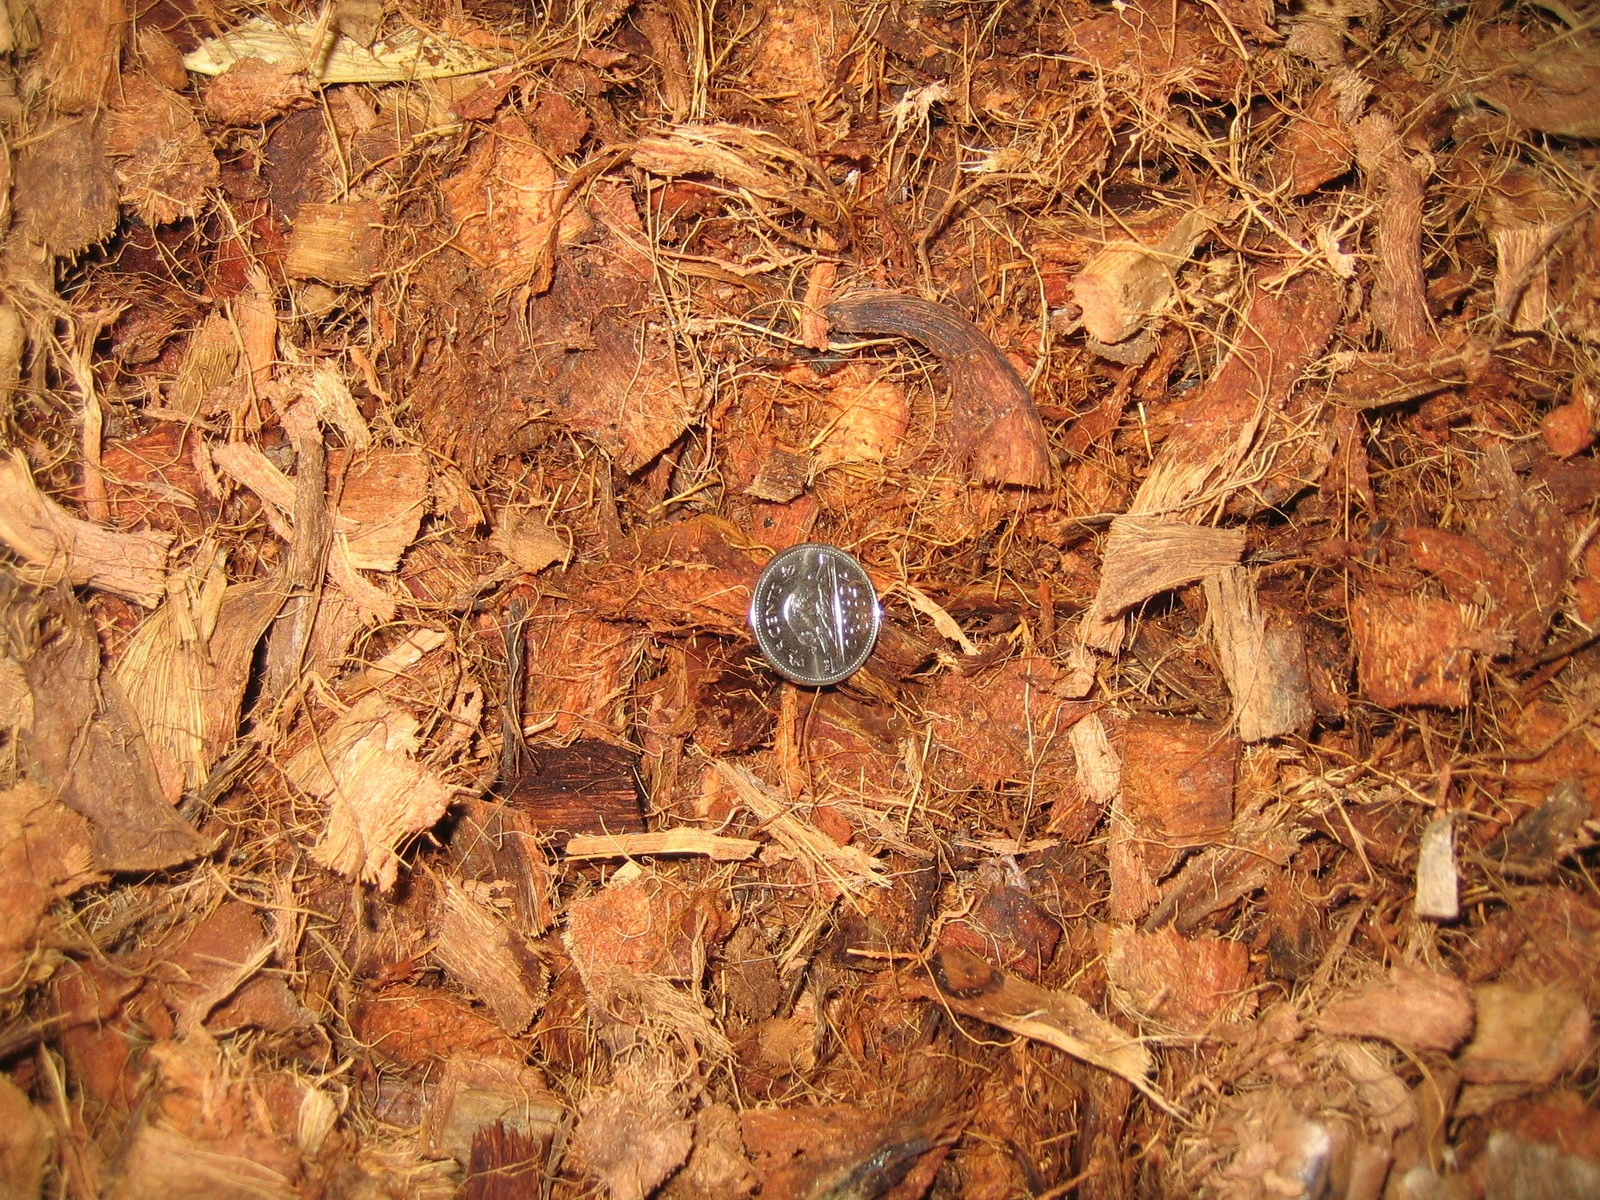
Coco chunk medium, with nickel for scale
- Custom manufactured and PVC pipe are nice because you can easily seal the ends with manufactured parts, whereas with downspout you'll probably be getting the silicon out and cutting sheets of plastic to glue to the ends.
- If you are going to use 4" PVC, buy the end caps it makes things easier
- Dark nutrient reservoir (12-20liters)
- Local seafood stores may have large (44L) styrofoam containers with covers that are used to ship large fish. The advantage being that they are insulated from light and heat, and you are helping the environment by reusing them. They are also shallow and long, which will minimize the amount of tubing needed.
- Black 3/8" tubing for drip
- Runs from pump to start of NFT channels
- 3/8" tee
- Two 3/8" elbows
- Course growing medium, good aeration, and large enough pieces to not be carried away by nutrient flow
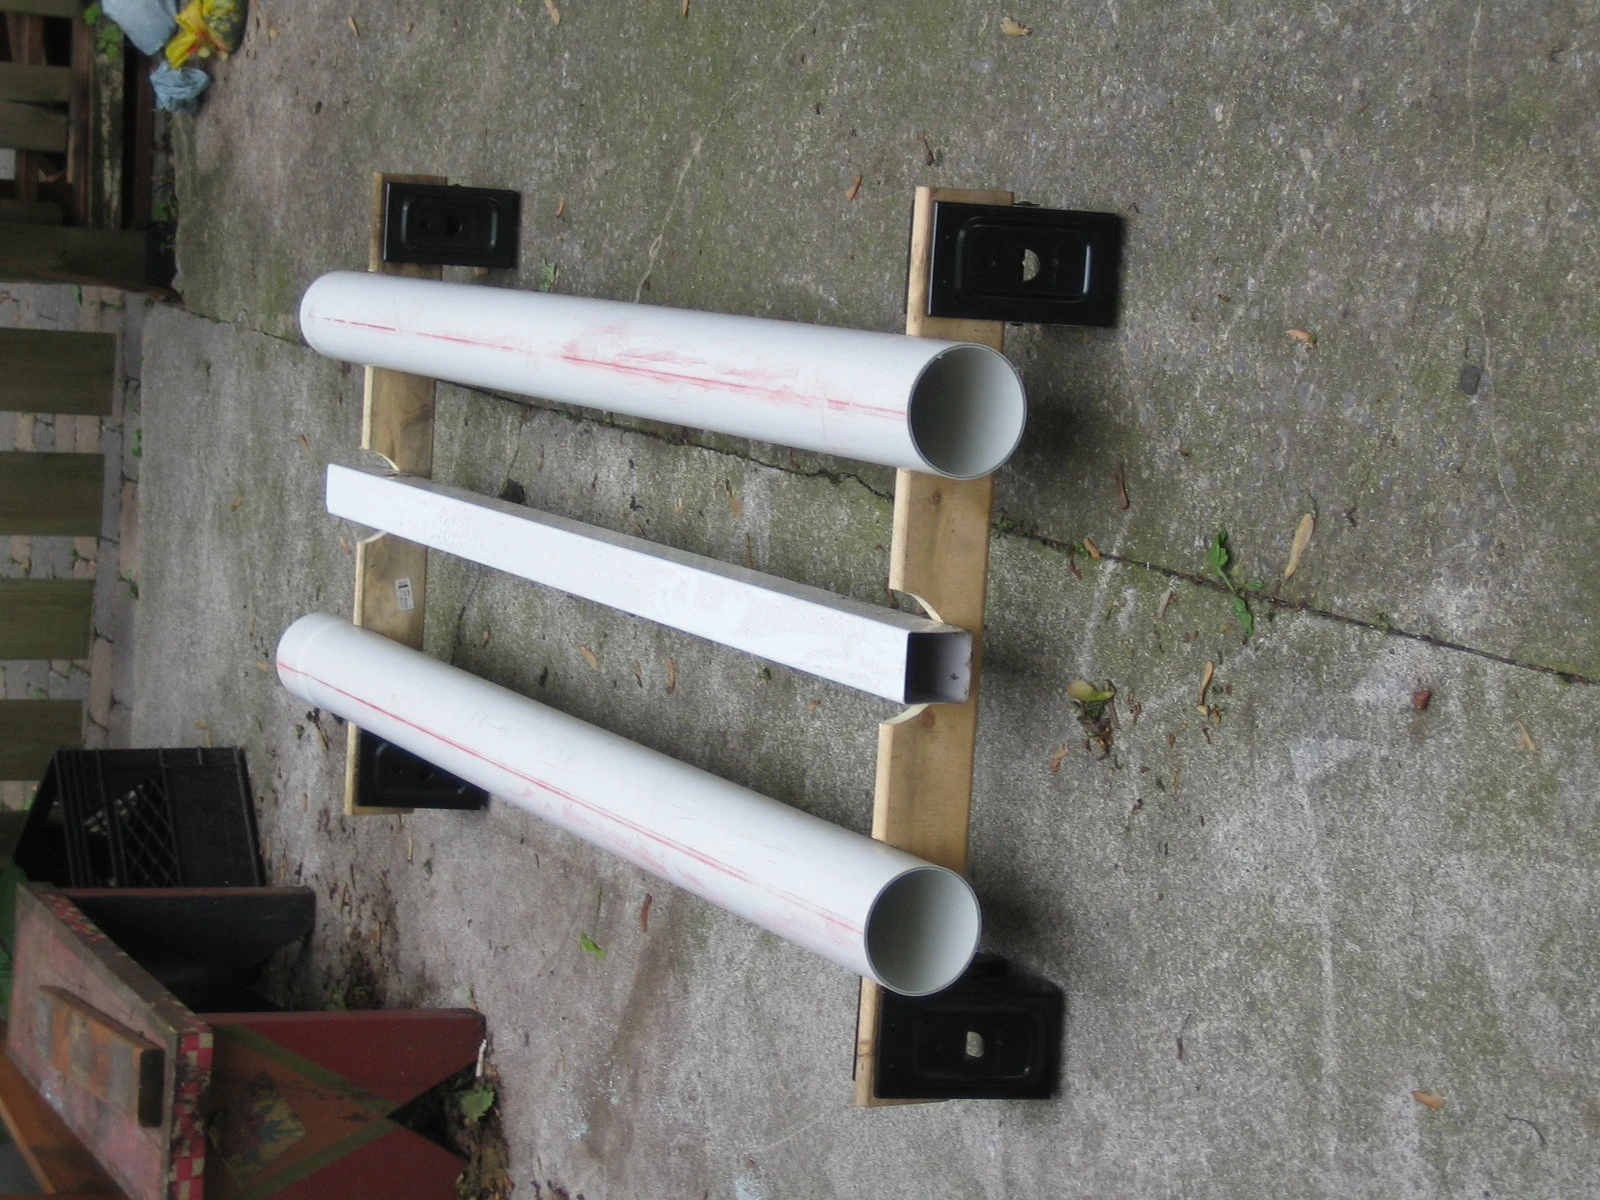
Pipes, wood braces and sawhorse kit
*
- Coco chunks, LECA are good options. I used a 80%/20% coco chunk/LECA mix
- If you packed the system full enough, perlite could work I suppose
- Mesh baskets, although really you can plant directly into the channels, but baskets will let you establish plants outside of the system first, then just put in the pots, and they provide stability for larger plants
- Solar panel and pump, available on eBay from $35-$50, Home Depot for $50-$60, try and choose a model with at least 18" of lift, and rated for salt-water use.
- 6gallon bucket (18L) for storing top off solution
- Two 1/2" drain fittings
- Float valve for controlling top off solution
- Tubing that fits your float valve
- Grommet to seal the spot on the bottom of the top off bucket where the tubing will go in
- 4 bamboo stakes 72" long
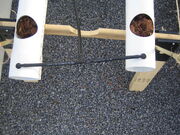
Downstream side
*Twine for trellising
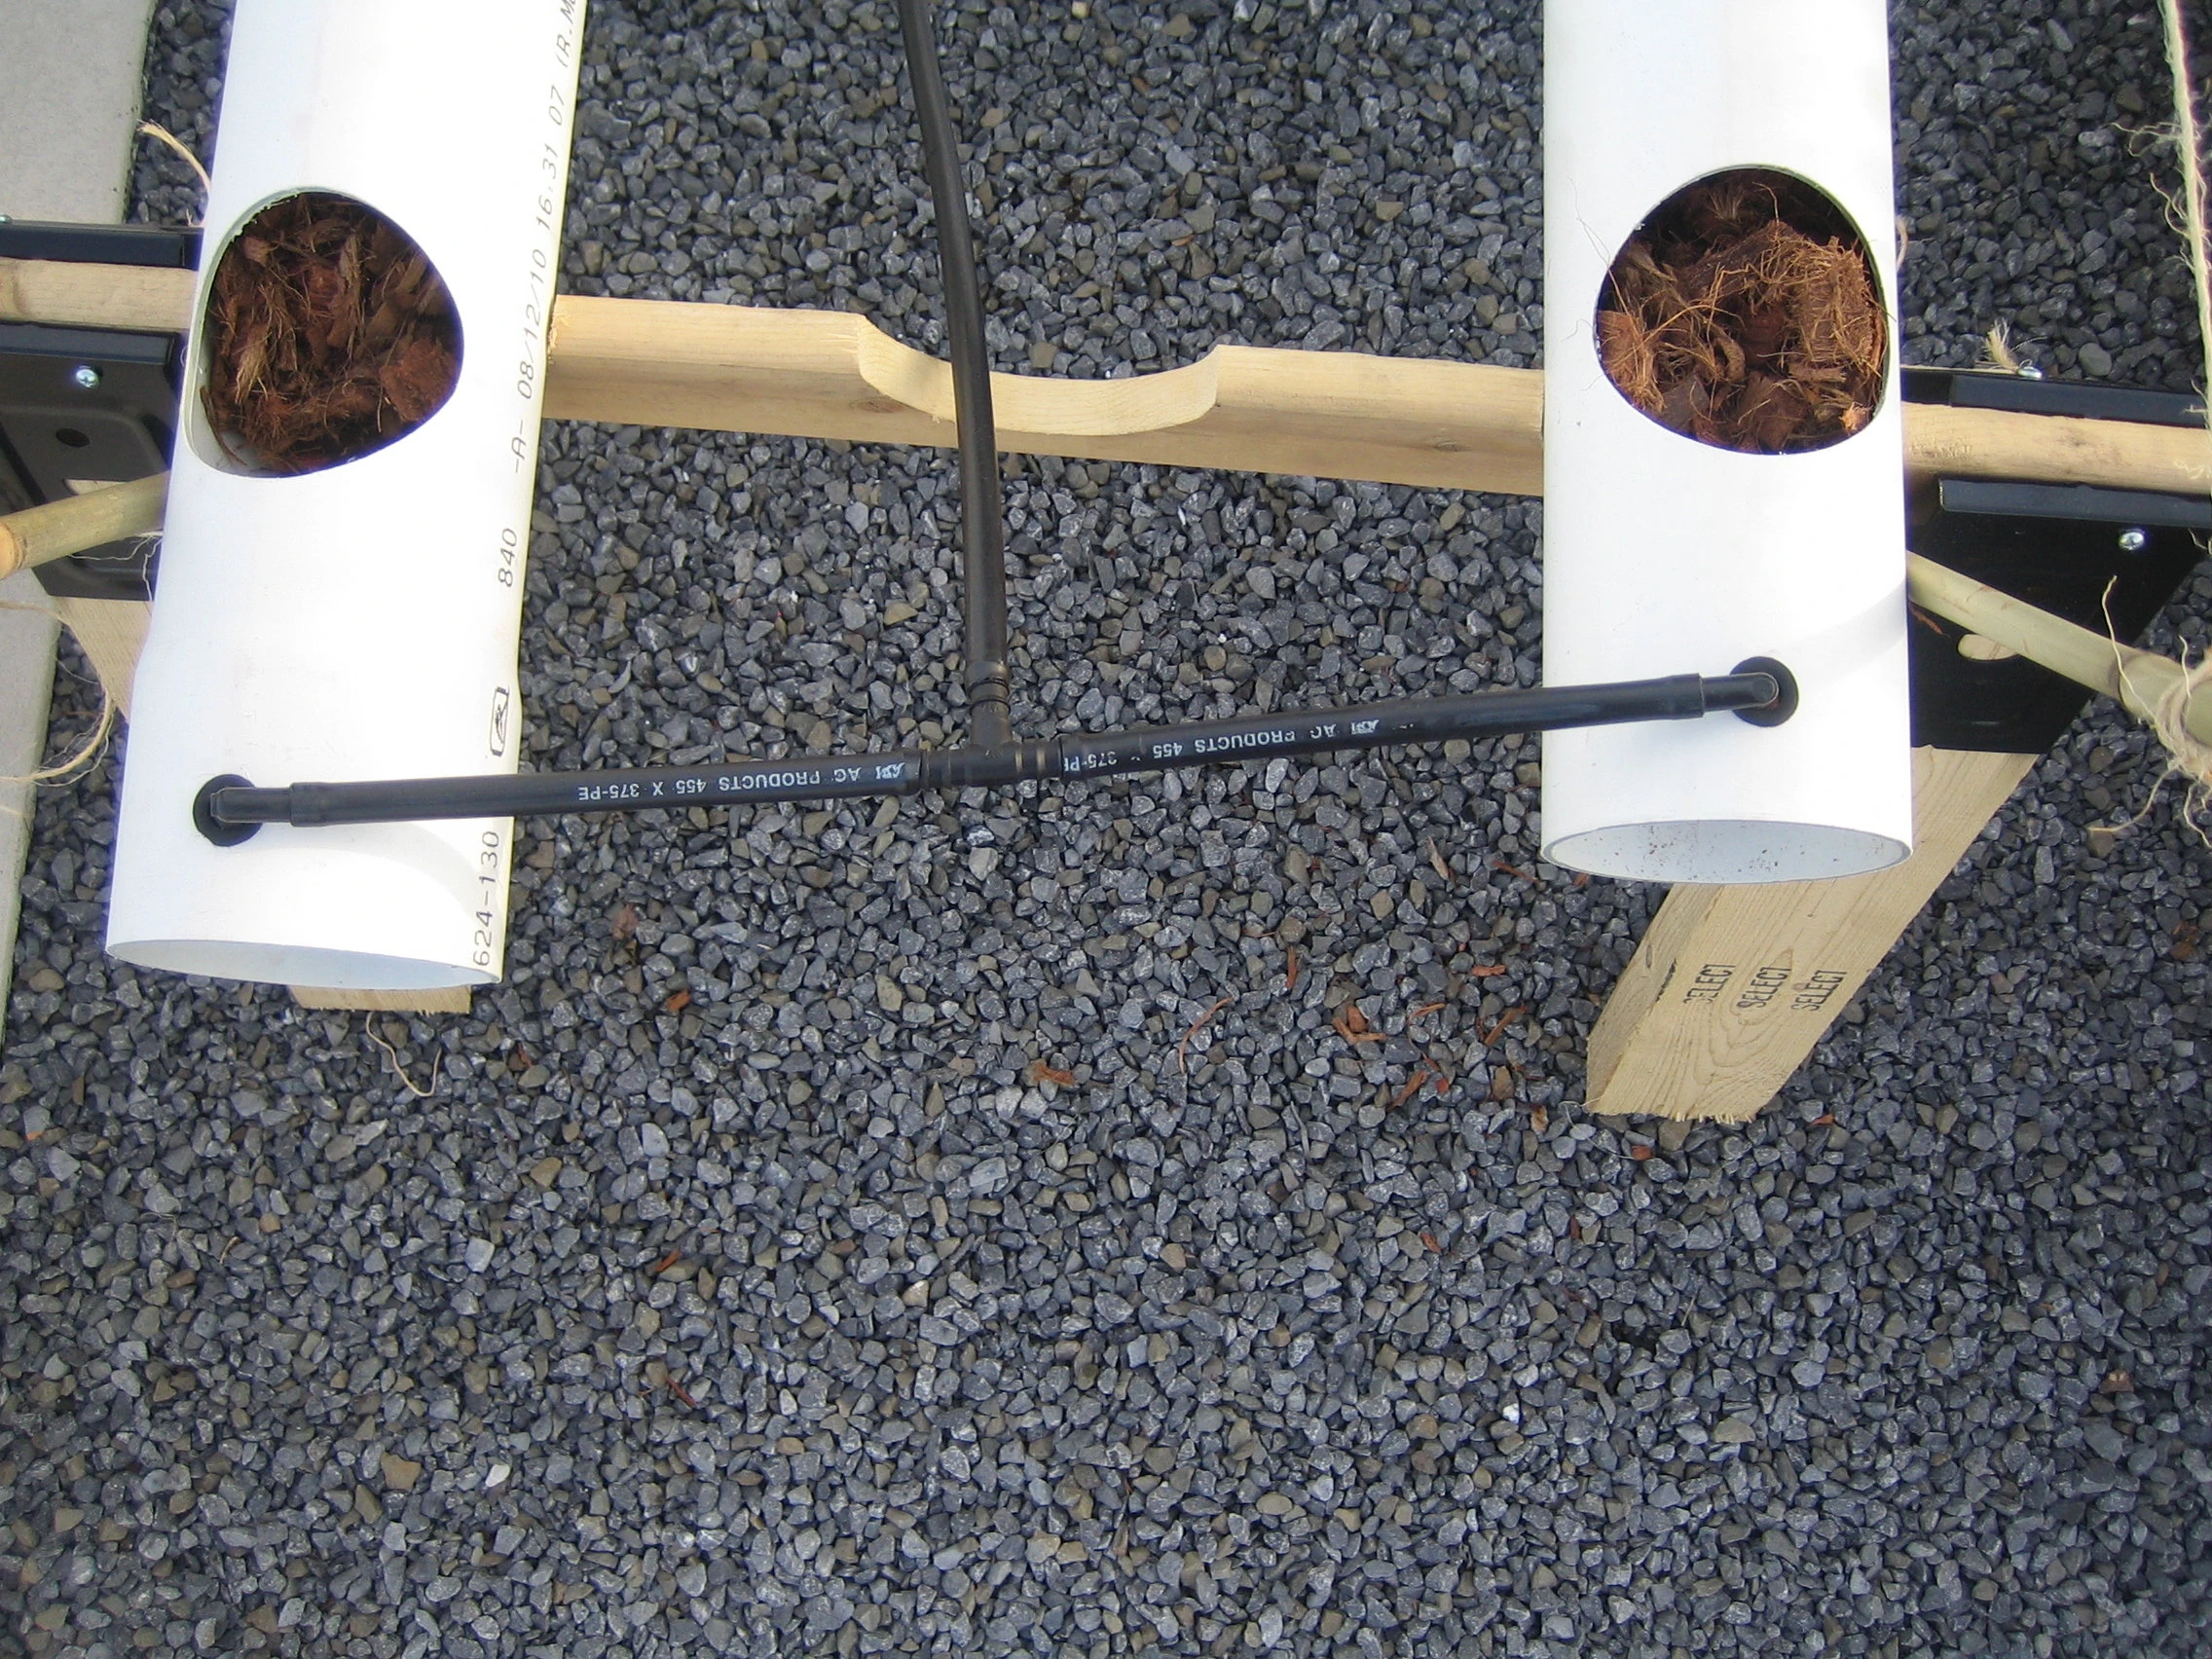
Injection "manifold"

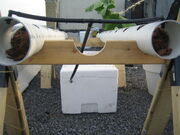
Upstream side
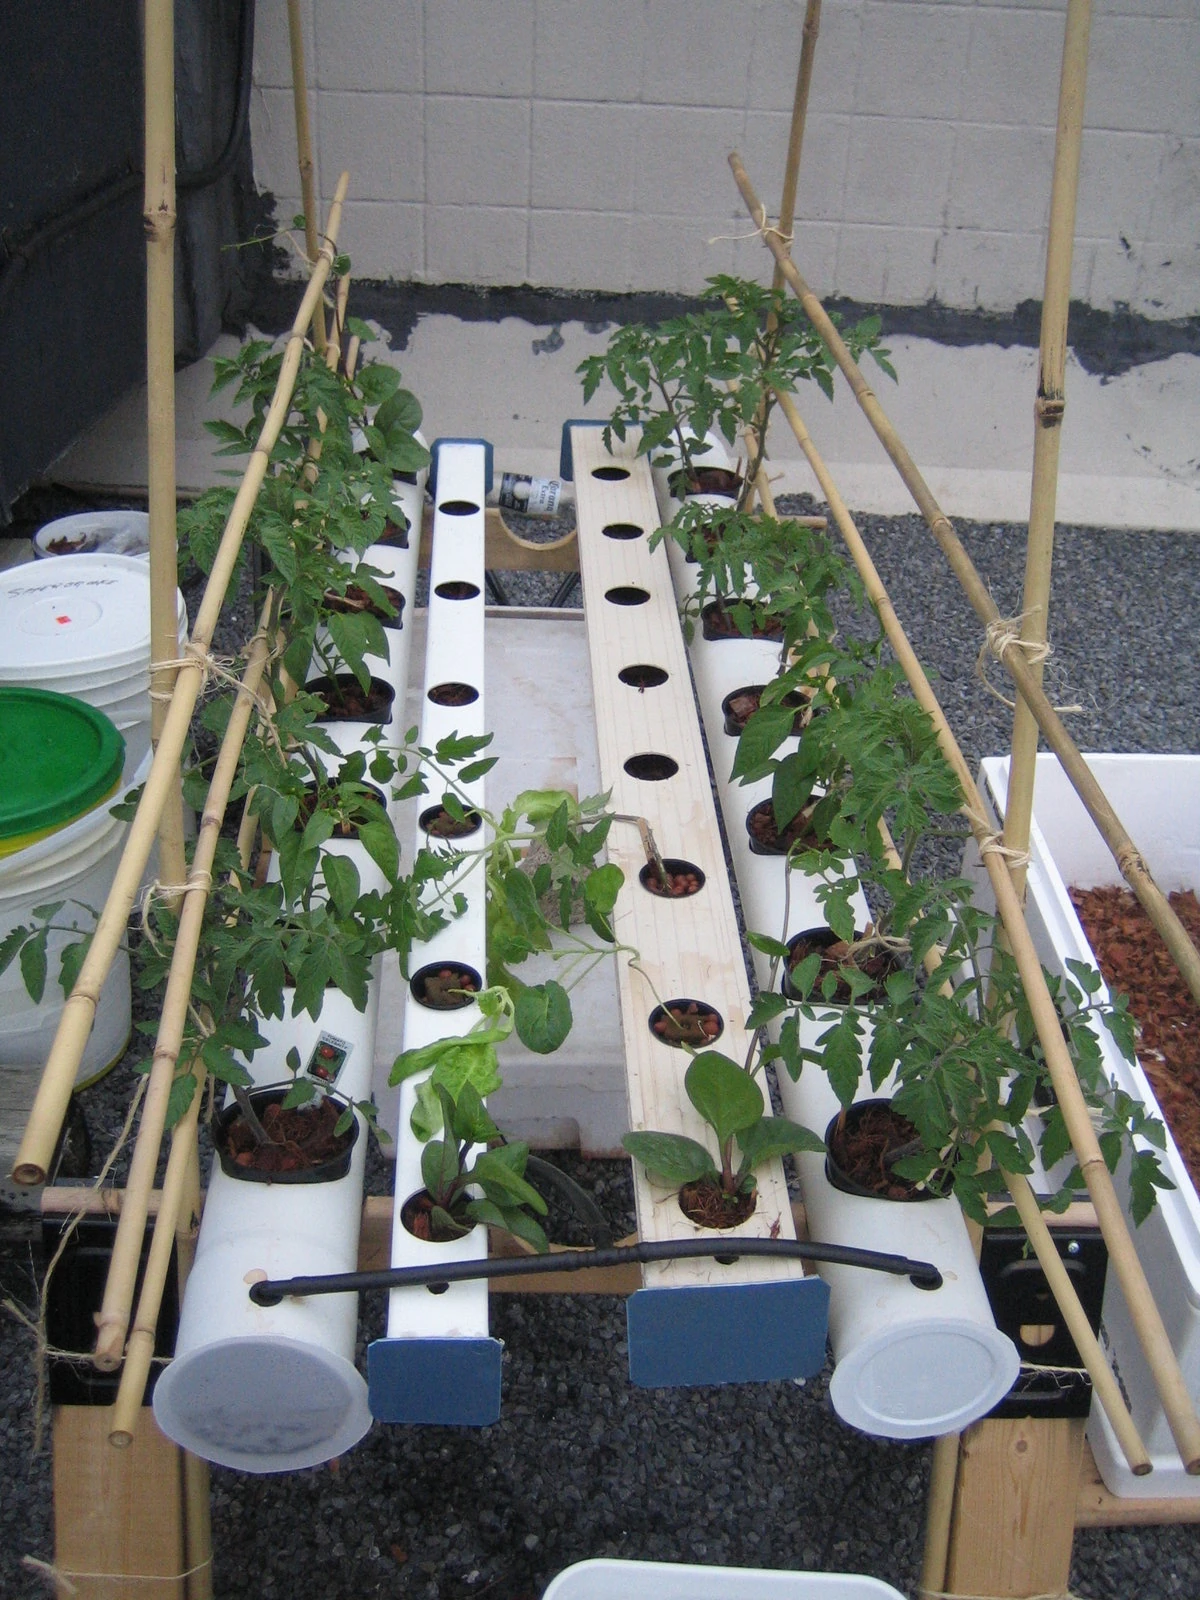
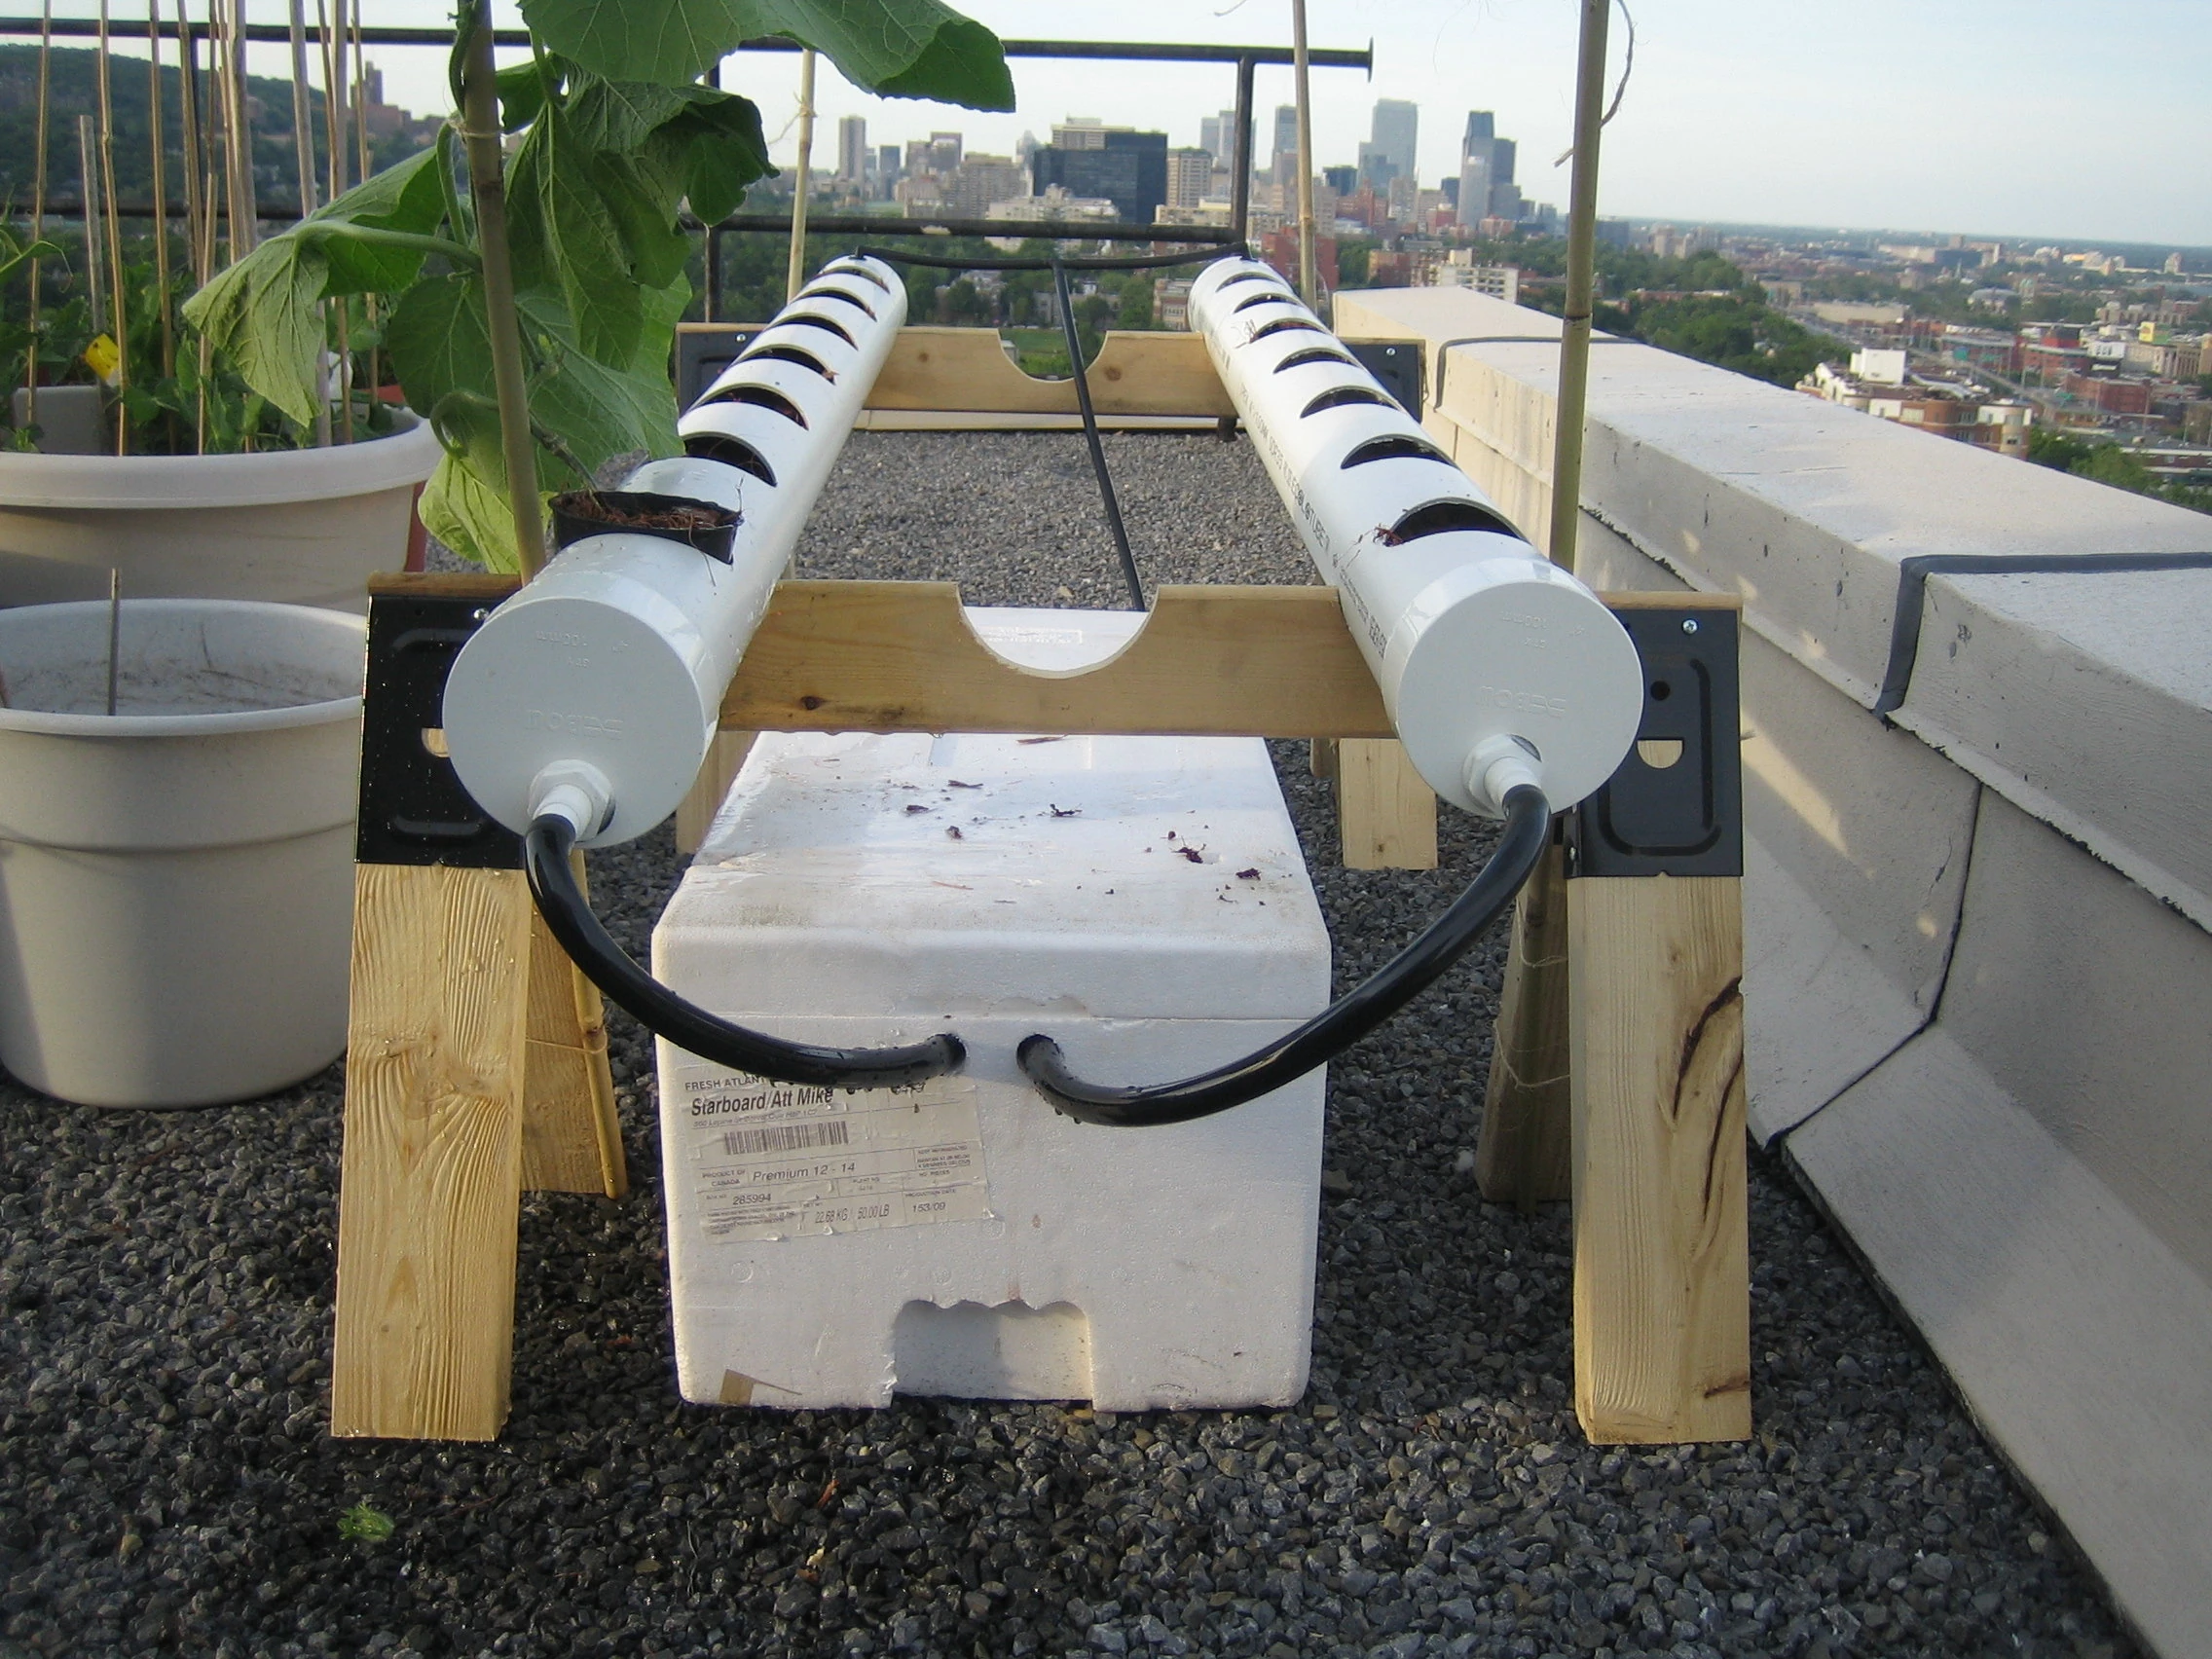
With plants
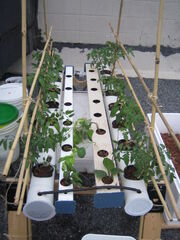
Another overview
TODO[]
- Integrate automatic top-off system using external water reservoir
- In progress--I've gathered an 18L bucket, that should provide several days (4-5) of top-off liquid. I'm planning on filling the bucket with 50% strength nutrient and pH balanced to 6.0, and a float valve I found at a hydroponics store for $10. I was estimating plants to "sweat out" 4L per day.
- Come up with a better/more stable trellising system.
Steps[]
- If you are using 4" PVC pipe, cut into 5' lengths and drill your pot holes using a hole saw. I am using 3.5" net pots for stability, so I had to use a drill press to drill these large holes. To line up your holes, secure the pipe to keep it from rolling and use a chalk line to snap a visible line down the center of the pipe. Your first hole can be 4" from the start of the pipe, as the roots will mostly grow downward to the end, so make your last hole 8" from the end to try and prevent roots from clogging the drain. I used a spacing of 8" on center, as I felt that with a daily nutrient bath, the plants would not be competing. Think about the space required for the canopy.
- Drill holes in the downside endcaps as close to the bottom edge as you can for the 1/2" drain fittings. Install them.
- Drill your holes in the 4" of space at the header end of the pipes. Make your hole large enough to snugly fit a rubber grommet.
- Rinse the pipe sections of plastic shavings and cap off the end with caps and pipe glue
- Build two sawhorses for holding the channels above the reservoir at a slant. Use a jigsaw to cut half-circles in the crossmembers to keep the pipes from rolling around.
- Run 1/2" black tubing from the drain fittings to the reservoir. Drill holes in the reservoir to pass the tubing through. If you are using the styrofoam reservoir, drill on a downward angle to prevent nutrient from backflowing back along the outside of the tube and out of your reservoir.
- Build your injection manifold by cutting 3/8" tubing and installing a tee, then run 2 more pieces of your 3/8" tubing to the injection holes, and install the 3/8" elbows. Insert the elbows through the rubber grommets you installed on the upper end of the tubes.
- Install some mesh netting/screen over the drain inlet inside the tube, to keep debris out. In my 4" PVC system, I just folded and cut screen door mesh to fit the inside of the endcap and over the drain.Use a rough mesh, we will install another net bag around the pump to safeguard against debris getting in the pump
- Attach the pump to the injection manifold with a piece of 4' or so black 3/8" tubing
- Attach the solar panel and test the pump and drainage systems
- Fill the PVC channels with coco chunks. Rinse the coco well to remove sawdust flakes. Soak the medium. Try to run enough water through the system until the water runs clear.
- Now onto the trellising. I had a lot of difficulty with this because I wanted to have upright stakes with string running horizontally every 8 inches or so, but trying to get the strings taut tries to tip the sawhorses! I am thinking about better ways of doing this.
- Fasten your bamboo stakes to the sawhorse legs at an outward angle.
- Tie horizontal lengths of string from the upper end stakes to the lower end stakes.
Dsddffffffff
Design Considerations[]
An outdoor solar system presents fun and unique challenges to design around. There are many constraints on the design of such systems, including, but not limited to:
Variable Sun Exposure[]
Since the system is left unattended in more remote locations, and sun exposure is variable, there will be times that the pump is not running. A medium should be used because it will retain nutrient during dry periods. A medium will also help to spread the moisture. A plus is that if it is cloudy, the plants will not need as much nutrient, so nutrient consumption goes down when the pump is not running due to low sunlight.
Weak pump[]
A solar pump does not have a high "head" or pumping height. Because of this, the system needs to be designed so that the top of the system and the pump intake are never more than 20" apart.
Temperature[]
The sun will attempt to heat the nutrient reservoir and root space. Since the root space is enclosed to prevent evaporative loss, this area can become like a mini-greenhouse! Care should be taken to shield the reservoir, and the root space should be shielded from sun as well.
Evaporation rate[]
The system should be mostly closed, and the media surrounding the roots should be covered by an impermeable material.
External water[]
Rain getting into the system can cause overflow, pH imbalance, and/or low nutrient concentration. Capture your rainwater separately, then introduce it in a controlled way.